Tutorial
Setup a project using Mozaic and npm scripts
In this example, in order to familiarize with Mozaic, we will set up a simple web dev environment:
- Install and configure our postcss build pipeline
- Import our first Mozaic SCSS tools and settings, and use them
- Configure stylelinnt to auto-fix our styling mistakes
- Build a live-reload dev server and use Mozaic static assets in our project
You have read the presentation tab and followed the installation steps (or you should have).
Now you should have:
- a brand new project directory
- node v20+ installed
- a
package.jsonfile with Mozaic installed (at least@mozaic-ds/css-dev-tools,@mozaic-ds/stylesand@mozaic-ds/web-fonts)
I) Install and configure PostCSS
Configuring Postcss is always done by providing an array of plugins. Mozaic provides you with this array of postcss plugins, but no task runner comes with it.
That way, you are free to use your favorite one, like gulp, grunt, webpack or even npm scripts.
For this tutorial, we will use npm scripts and some npm package as a simple example.
A) Install postcss-cli:
npm install --save-dev postcss-cli
B) Configure PostCSS:
Create a postcss.config.js file in your project root directory and paste the following code inside:
C) Create some files:
Create src/ and dist/ directories.
Create a src/bundle.scss file and paste the following code:
@import 'settings-tools/all-settings';body { @include set-font-scale('12', 's'); background-color: $color-primary-01-500; color: $color-font-darker; text-align: center; margin: 0; padding: $mu500;}
your project should look like this now:
my-project/├── src/│ ├── bundle.scss├── dist/│ ├── (empty: generated files will go there)├── package.json├── postcss.config.js
D) Add scripts to build and watch your CSS:
create the following npm scripts under the script keys in your package.json file.
css:build tell postcss-cli to build our SCSS and to output the compiled CSS files into the dist/ directory.
We also created a css:watch command to watch our changes to the scss files.
E) Run the watcher:
npm run css:watch
Now each time you make a change, the dist/bundle.css file is updated. Postcss also creates a dist/bundle.css.map which will allow you to determine the source file and line of a declaration in the browser inspector.
Postcss is up and running!
II) It's time to write some CSS!
stylelint to lint SCSS files:
stylelint comes with its configuration in Mozaic and it is provided at compilation time. You don't necessarily need a root config file, but in some cases, you may want to have it, for example to configure prettier-stylelint on your IDE, or to use stylelint outside of the compilation pipeline.
In this case, you can create a stylelint.config.js file in the root dir of your project.
As an example, we will create an NPM script that will fix the syntax in our SCSS files.
A) Create a NPM fix command:
let's create a NPM script to fix our stylelint errors, add the following in your package.json:
If you try to run the npm run css:lint-fix command, node will throw an error because stylelint require a config file.
B) Create a stylelint config file:
Create a stylelint.config.js file at your project root.
then edit the file and add the folowing code:
Run the npm run css:lint-fix command. Nothing should happen, because the code you copied has no error.
C) Let's test that:
Edit your src/bundle.scss file, and edit line 5 to remove the line break between the mixin instantiation and the first declaration :
Run the npm run css:lint-fix again. stylelint fixed this outrageous mistake and added the line break after the mixin instantiation.
et voilà !
III) Static assets:
Mozaic provide you with static assets like fonts, icons or logos.
Depending on your environment, statics assets like icons or fonts may be served from a different URL.
let's create a live-reloading dev server as an example.
A) Copy the statics:
Let's make a script that will clean our dist/statics/ directory and copy the static assets from the Mozaic nodes_module to our project.
It will allow us to be sure that we always have the last version of these static assets in our project.
Add in your package.json the following script:
B) Create a dev server:
First, let's install live-server
npm install live-server --save-dev
And create a script to launch it upon our dist/ directory. We will tell it to refresh the browser whenever there is a change in the dist directory, and also to run the statics:copy command before starting.
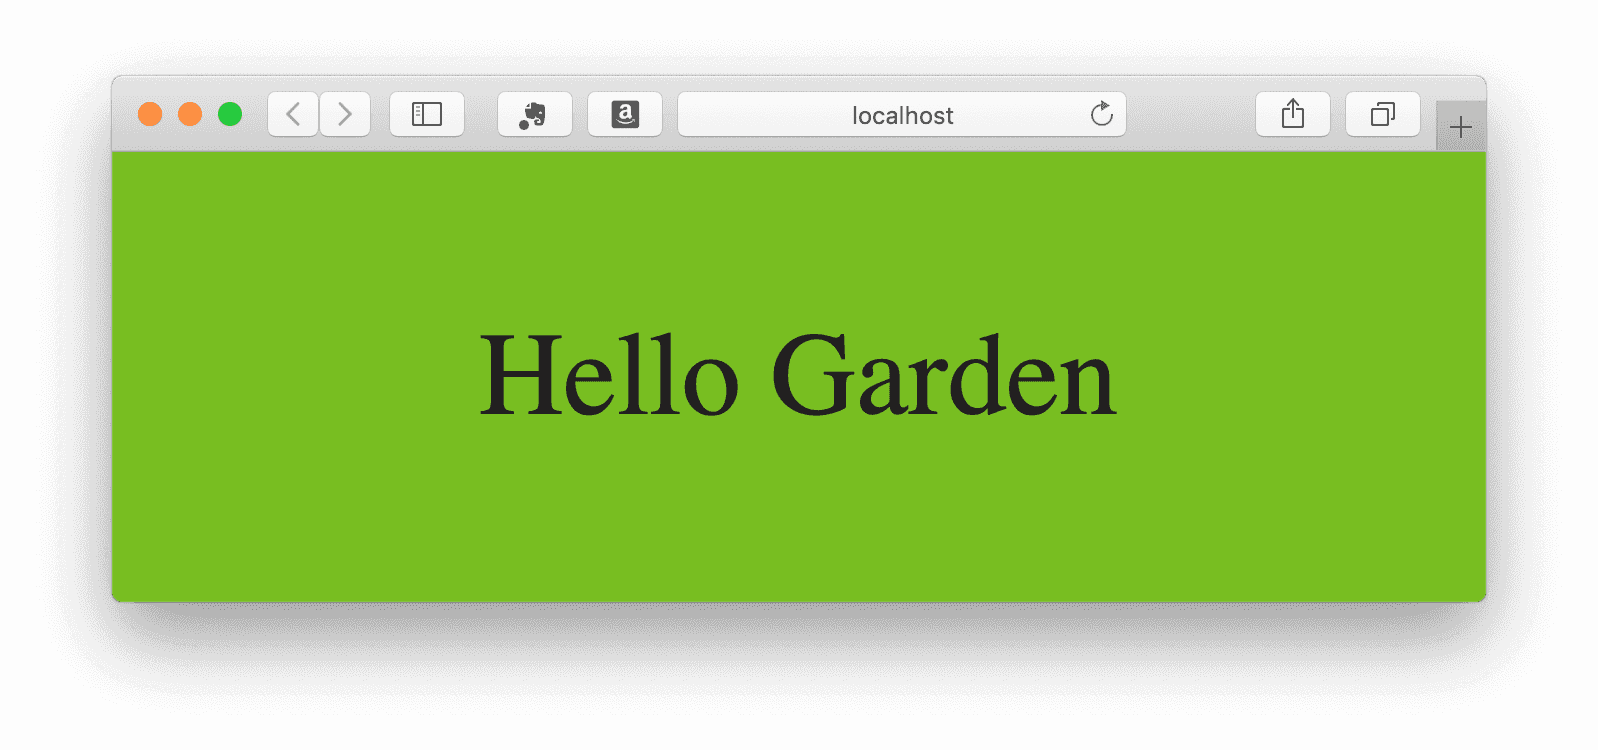
C) Hello Mozaic:
create an index.html file in the dist directory
paste the following inside:
now run npm run serve. A live server should open your favorite browser.
you should now see something like this:
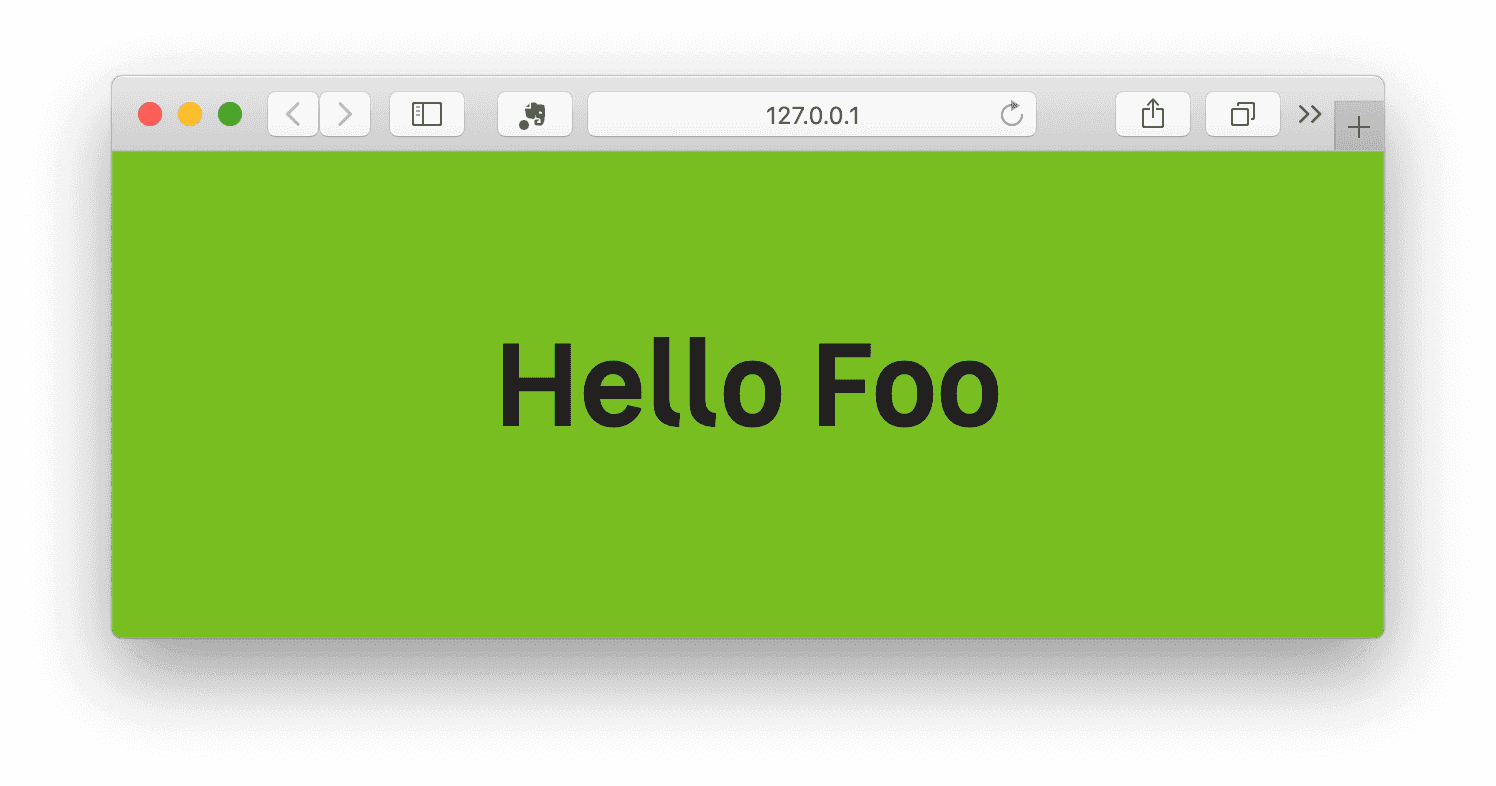
Change 'Hello Mozaic' for 'Hello foo' in your index.html and save. Your browser should refresh automatically.
D) Use the Mozaic Fonts
When starting your server, the fonts should have been added into dist/static directory.
But as you can see, the fonts are not the Mozaic ones. Let's configure that:
open a new terminal window at your project dir and run the css wtacher
npm run css:watch
in the src/bundle.scss file add the folowing:
/* add this */$local-config: ( font-path: 'static',);@import 'settings-tools/all-settings';@include import-font-families(); /* add this */body { @include set-font-face('semi-bold'); /* add this */ @include set-font-scale('12', 's'); background-color: $color-primary-01-500; color: $color-font-darker; text-align: center; margin: 0; padding: $mu500;}
In the previous file, we set our path to path to font faces. It is now able to load them.
$local-config: ( font-path: 'static',);
Then we set the semi-bold LeroyMerlin font-face into the body declaration.
body { @include set-font-face('semi-bold'); // ...}
Your browser should now look like this:
Notes
Note that you may only want to compile existing Mozaic components. In that case, you just have to create your own bundle, and import the parts you are interested in:
// mandatory@import 'settings-tools/all-settings';// your components@import 'layout/_l.grid';@import 'components/c.button';
note that you need to follow the ITCSS/ADS import order
If you want to create your own local components:
Note that if you want to pipe your own components into the same as the Mozaic ones, the linter will ask of you to follow our guidelines.
Please read our guidelines to write CSS that follows our conventions.
If you choose not to follow our guideline, build your CSS apart from the Mozaic ones with the tool of your choice.